
How do you know when your shower head needs cleaning? Well, some of the obvious indications are compromised water pressure, spurting of water from an individual nozzle, visible stains/grime, and the presence of limescale. Of course, homeowners needn’t wait for any such ‘sign’ to clean their shower head because the primary reason for doing this should be centred around hygiene.
Many studies have shown harmful bacteria present on shower heads including mycobacteria and nontuberculous, both of which cause lung infections. Along with this, users may also experience skin irritation and allergies during or after a shower.
Keeping in mind the negative/harmful effects of an unsanitary shower head (as mentioned above), learning how to clean this crucial bathroom fitting efficiently is of utmost importance. Today, Maid For You is sharing a tried and tested step-by-step guide on cleaning shower heads to sanitise the fitting, remove stains, and improve its performance by getting rid of mineral deposits that are blocking the nozzles. Best of all, it’s incredibly easy to follow! Read on.
Step One: Unscrew and Remove the Shower Head
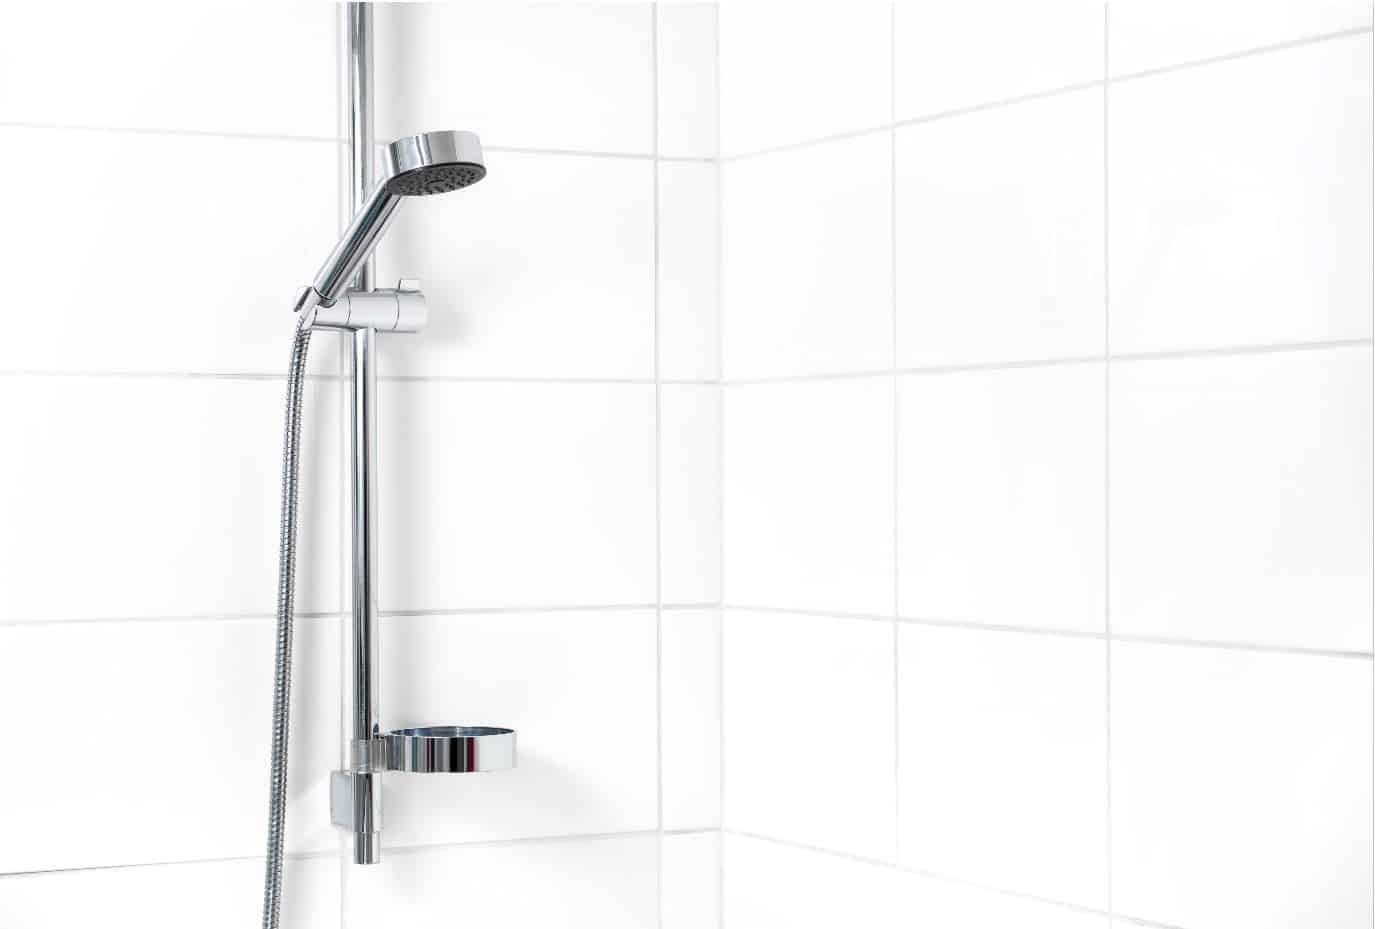
Although there are quick methods to clean shower heads while still attached, we find that a thorough and more efficient clean can be achieved when the fitting is detached. Most shower heads are screwed on and fairly easy to remove; if the fitting is old or slightly rusted, it may require a few drops of machine oil to unscrew it.
Step Two: Soak in a Bowl of White Vinegar
There are many benefits of using white vinegar to clean your shower head. From breaking down grime and removing stains, to killing bacteria and sanitising the surface; this common household ingredient is widely preferred over commercial cleaners or specialised shower head cleaning products simply because it gets the job done, and is a 100% safe and eco-friendly cleaning product.
Bear in mind that the longer you soak your shower head in white vinegar, the more effective the results will be. Typically, 3-4 hours is enough time for the ingredient to act on the surface, however, it’s important that the entire fitting is submerged in vinegar for it to be effective.
Step Three: Clean the Nozzles

Clogged nozzles on your shower head encourage bacteria buildup while also interfering with the water flow/pressure. The root cause of this problem is mineral deposits that get lodged in the nozzles which need to be removed with a toothpick or soft-bristled toothbrush. Typically made of rubber/silicone or plastic, all you need to do is poke through each nozzle of your shower head to dislodge the debris.
To help loosen the buildup, pinch the nozzles before using the toothpick/toothbrush. Bear in mind that over time, plastic and rubber shower head nozzles become hard and brittle; therefore, pinching may cause them to crumble or break off. In this case, it is advisable to replace the fitting.
Step Four: Rinse Out the Nozzles
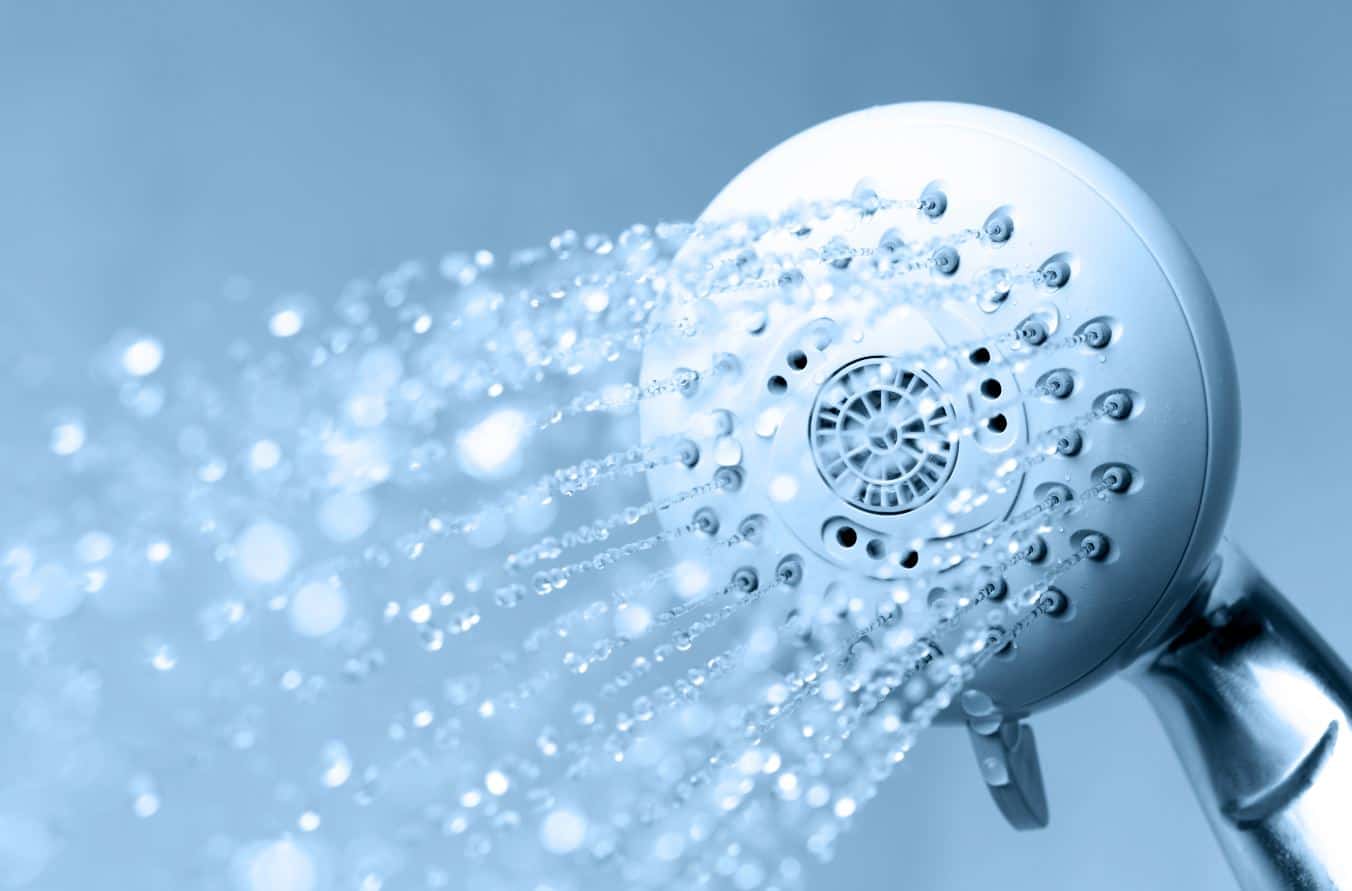
Holding the shower head under water is not enough to rinse out its intricate water nozzles, hence, the best way to ensure that the holes have been properly cleaned and rinsed out is by reattaching the shower head, and allowing water to flow out of them. Do this for 3-5 seconds and shut off the water before taking down the shower head once again.
Step Five: Clean Between the Nozzles

Water stains and grime buildup between the nozzles are common to see on shower heads and yet, often overlooked. In fact, the nozzles also become dirty and discoloured overtime, hence needing a gentle scrub down. To do this, a mild cleaning solution made with liquid hand soap and warm water is suitable for removing stains and dirt on your shower head. You will also require a soft-bristled toothbrush to clean these narrow spaces thoroughly. Be as gentle as possible, using minimal pressure when scrubbing the surface to avoid damaging the shower head nozzles.
Step Six: Clean the Filter and Flow Restrictor

Using a pair of tweezers, gently pull out the rubber ring you see inside the shower head. From there, remove the filter(s) and air restrictor (if included). You will notice that these internal components of your shower head have trapped a lot of dirt and debris which will require a thorough washing to remove. For this, use a sponge and a mild cleaning solution of your choice; liquid hand soap and water works well here.
After washing the filter, flow restrictor, and rubber ring, wipe each component dry and leave aside. Before you replace them, use a toothbrush or a small, narrow bottle brush to gently clean inside the shower head; after scrubbing the interior, spray water inside to rinse out any loosened debris.
TIP: If the holes of the components are still blocked after the wash, dislodge the debris using a pin.
Step Seven: Wash the Exterior
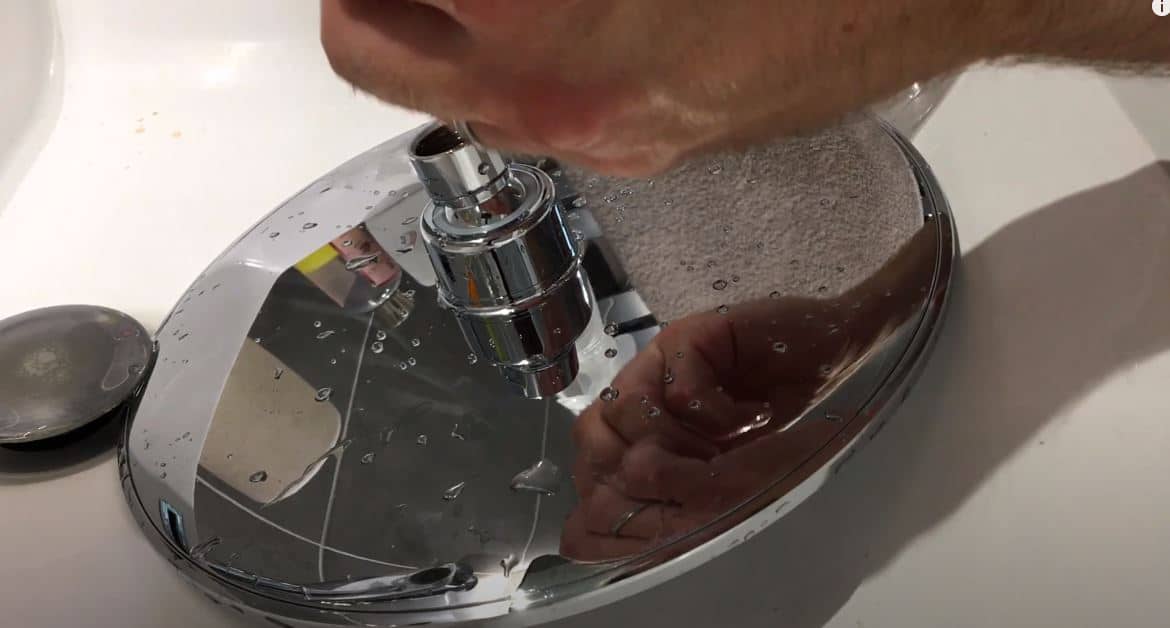
Most shower heads get covered in water stains which dull the metal over time. Even worse, bacteria can be found on the exterior of your shower head and hence, should be scrubbed down as part of your shower head cleaning. The use of white vinegar or a mild cleaning solution and sponge can be used to clean and sanitise the surface; it is advisable to spray the exterior with a disinfectant if you choose to use a regular cleaning product in place of white vinegar. At the end of this step, wipe the shower head with a lint-free towel screw and it back on.
That’s right, with these seven simple steps to clean your shower head, you can rest assured that it will no longer be spewing bacteria at you! On top of that, the blessing of showering with a fully-functional shower head is something you can enjoy once again!